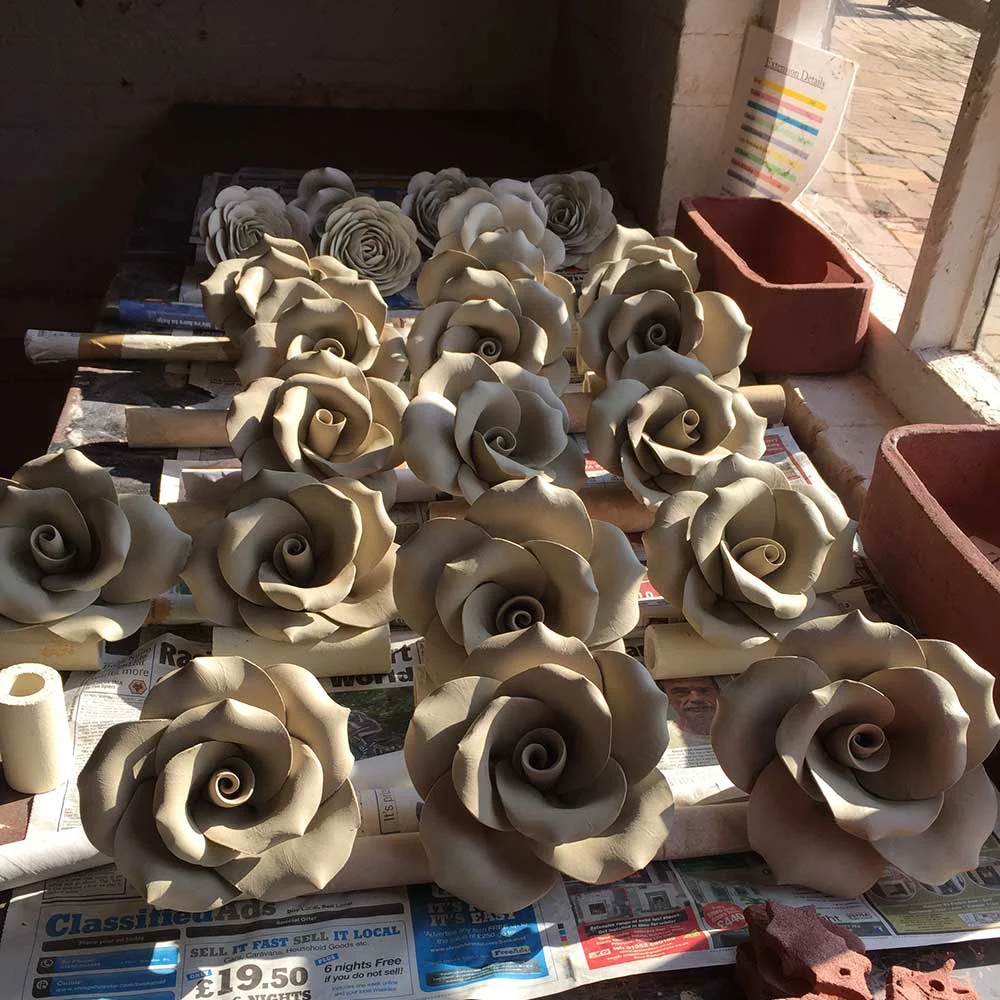
I was recently asked to make a few hundred roses for Harrods shop window in London, they wanted them to be up to 20cm in diameter. I worked out the following technique so this is how to make a big rose out of clay. I made these recently down Coalport China Museum where I volunteer to use the space for larger commissions.
Any clay would work with this method, but the better the clay, the better the results. The clay I have used here is one of my favourites for modelling with, its Earthstone Special 160 from Valentine Clays.
These large roses were fired to 1060c (Cone 04).
What you will need:
1. Clay
2. Rolling Pin
3. Round Cutters – Could use cups or tins.
4. Wooden bats or you could use two books or similar
Making the Petals
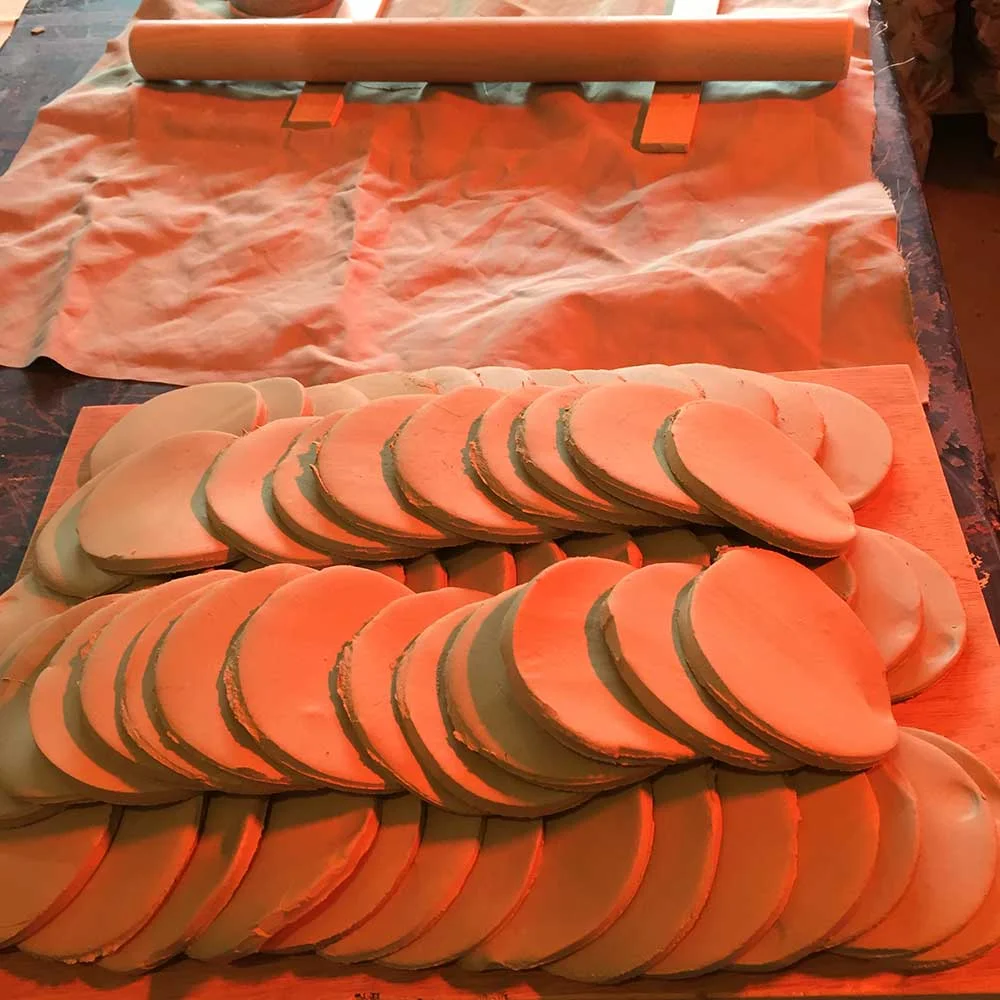
Normally I would grab a ball of clay and just pat it in my palms to make the petals. Fine for one or two but not for the 5400 petals I needed to make for this job. So for the sake of my poor hands I decided to roll out clay and cut the petal shapes out:
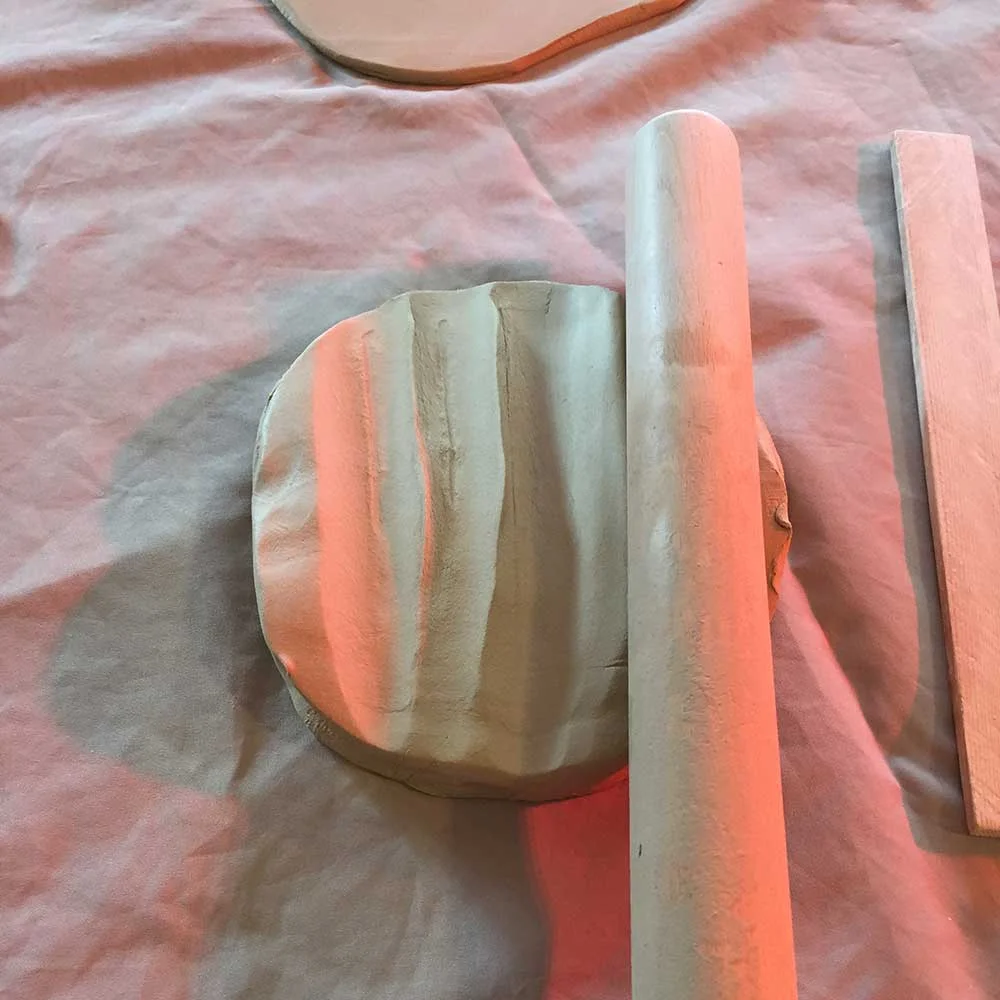
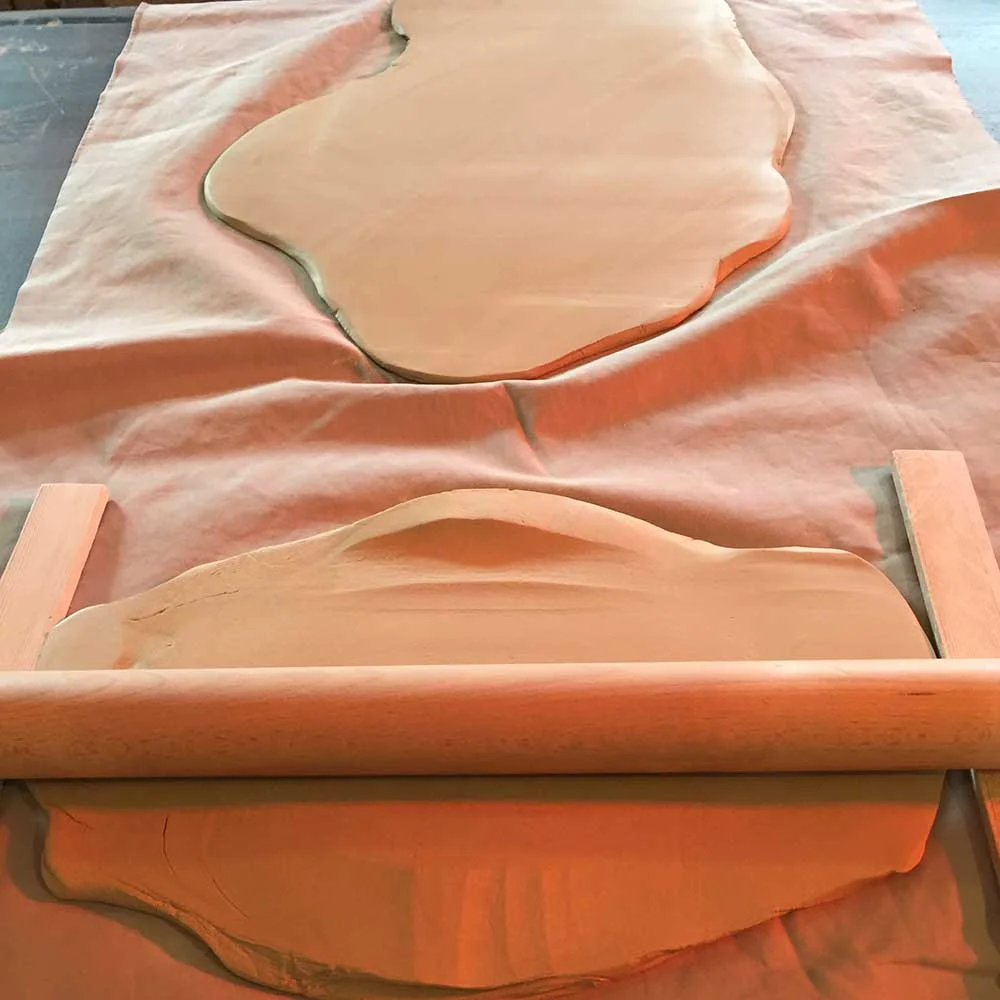
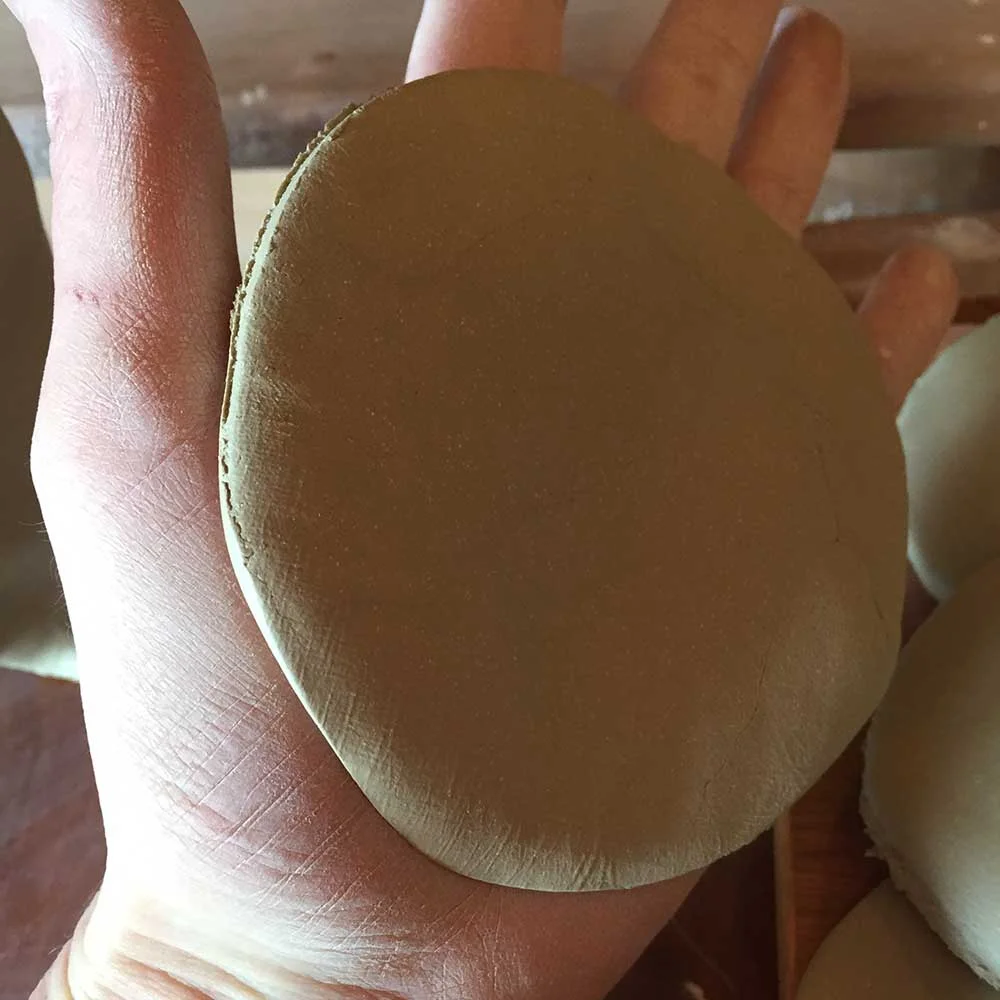
1. Bash the clay a bit before rolling between two bats of wood or anything you can find. Books will work. These wooden bats are 6mm, but you could go a bit thicker until you get the hang of it.
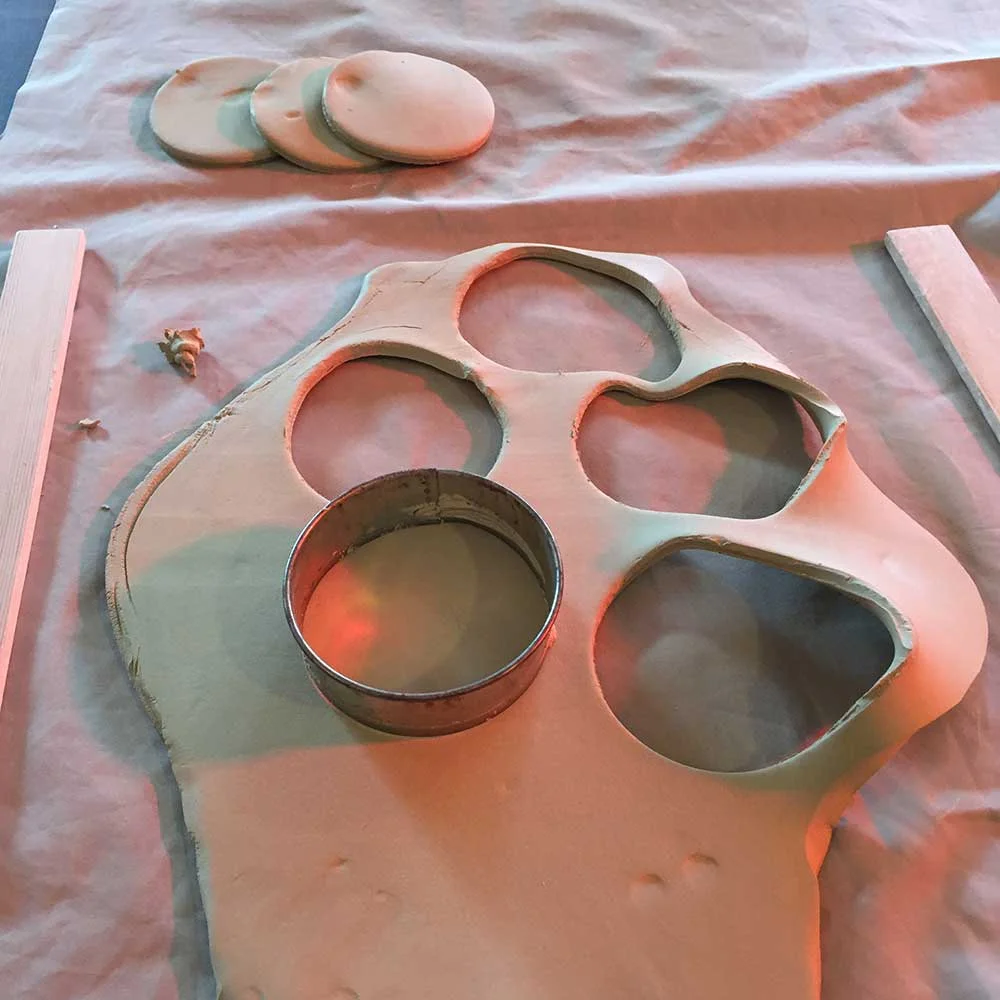
2. Cut circles out using cutters or whatever you can find. Tins will work or plastic beakers.
Making the Center
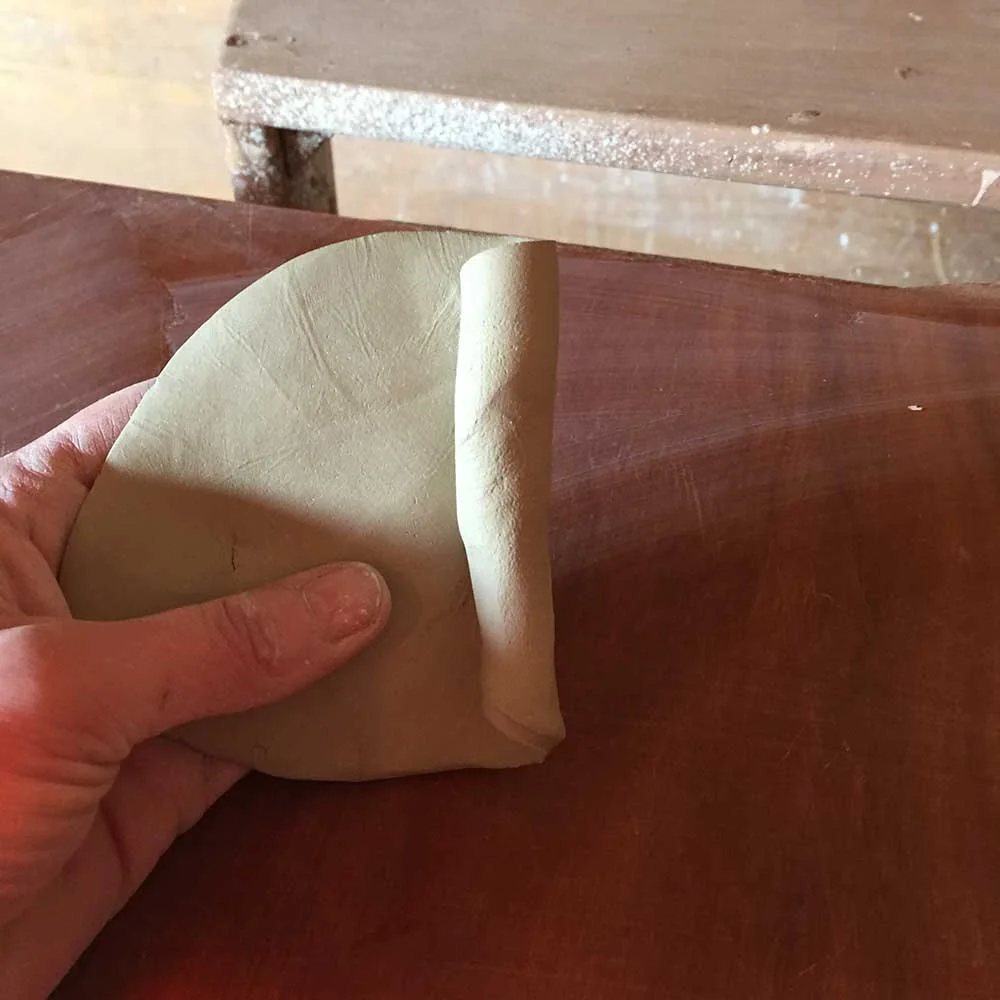
1. Take one petal and stretch it a bit to make this longer shape on one side. Then using your palms flatten the very edges of that one side.
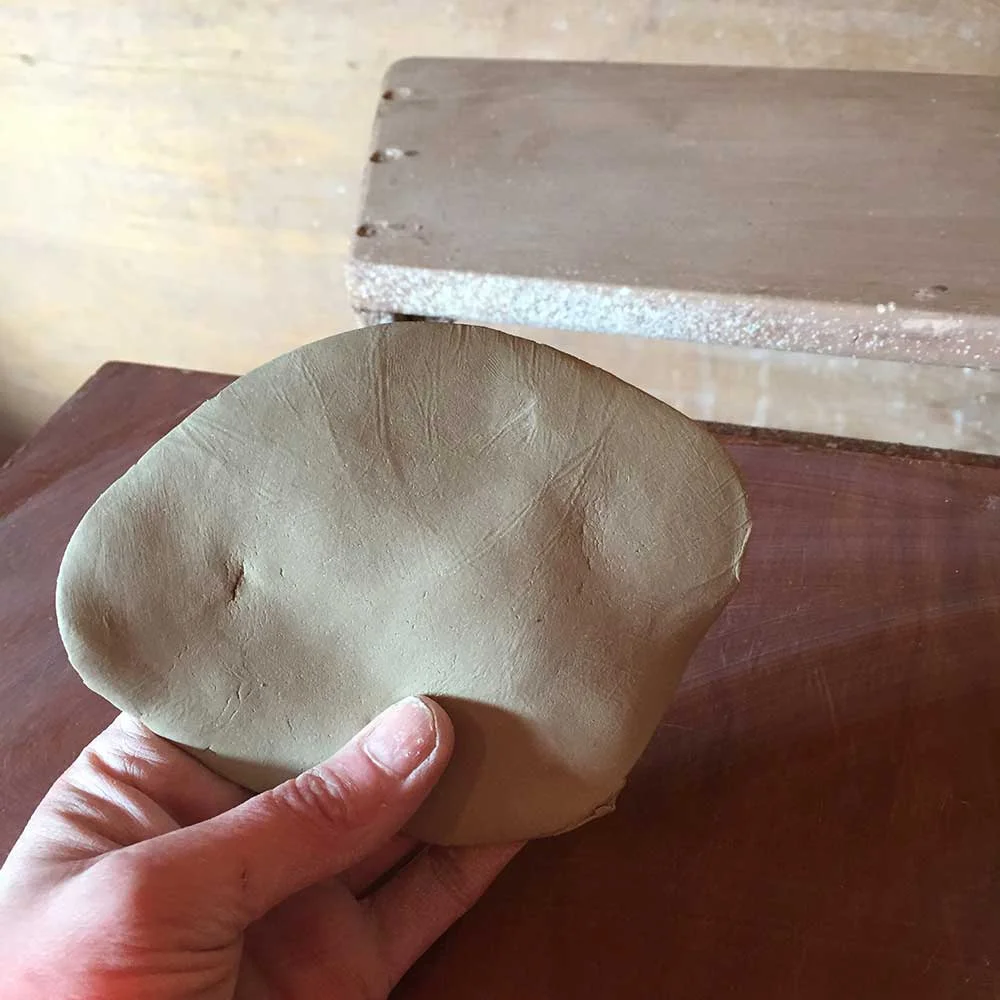
2. Roll up this petal to make a center curled petal.
Making the Petals
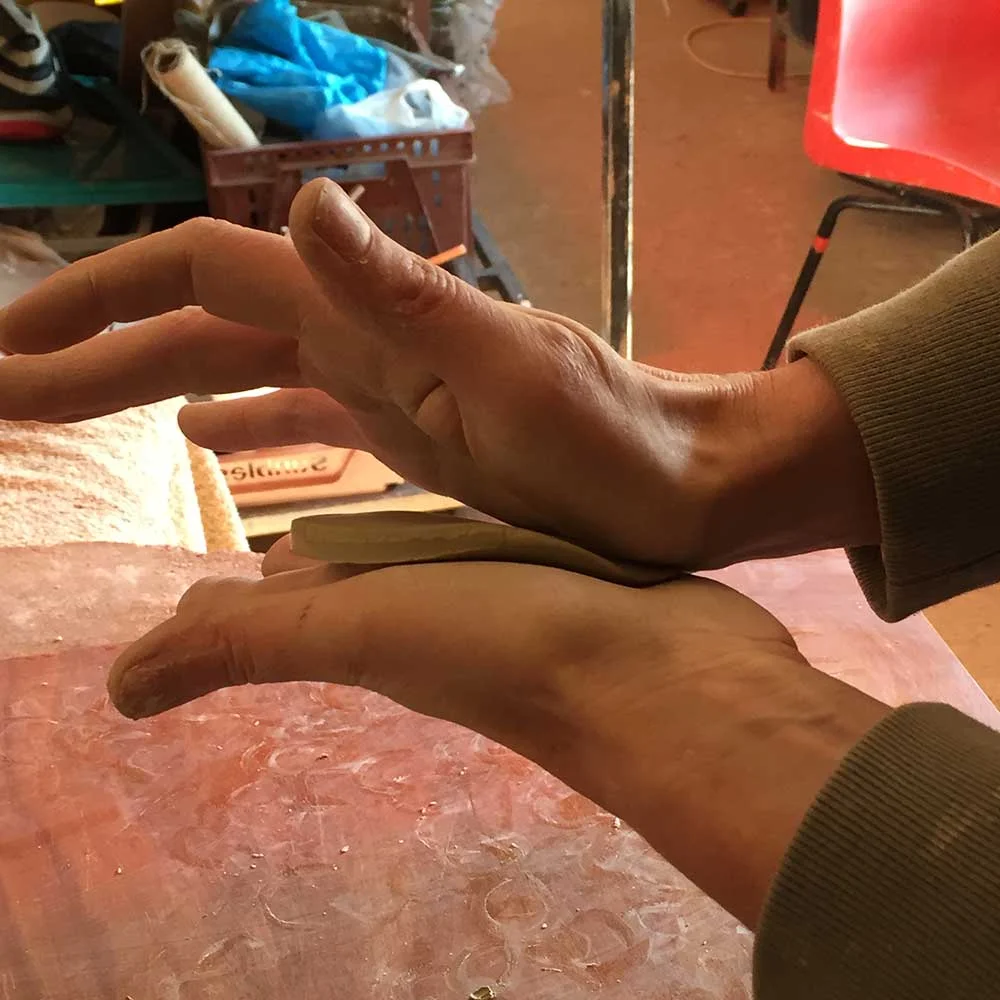
Make 8 petals by flattening just the edges with the palm of your hands.
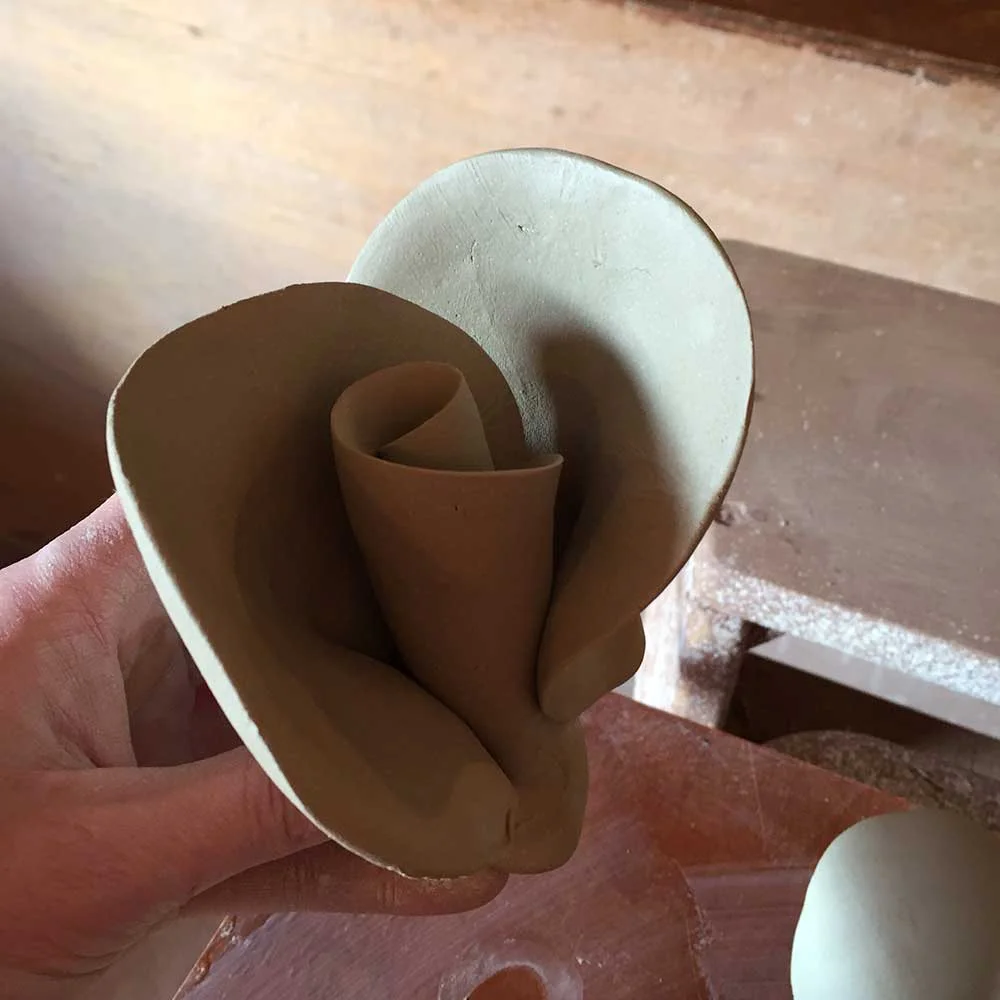
Putting the Rose Together
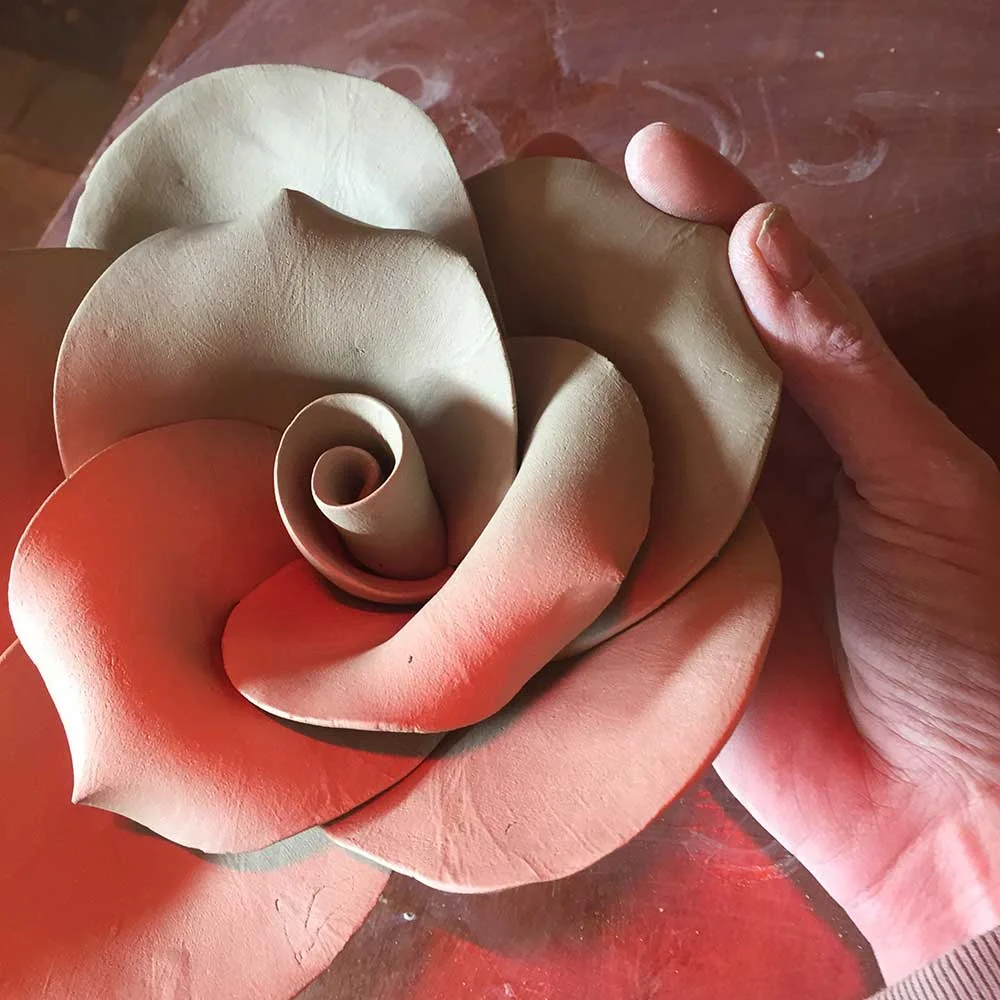
1. Put 3 petals around the center like the images below:
2. Tweak petals with fingers like the image taking care not to crack of finger print them.
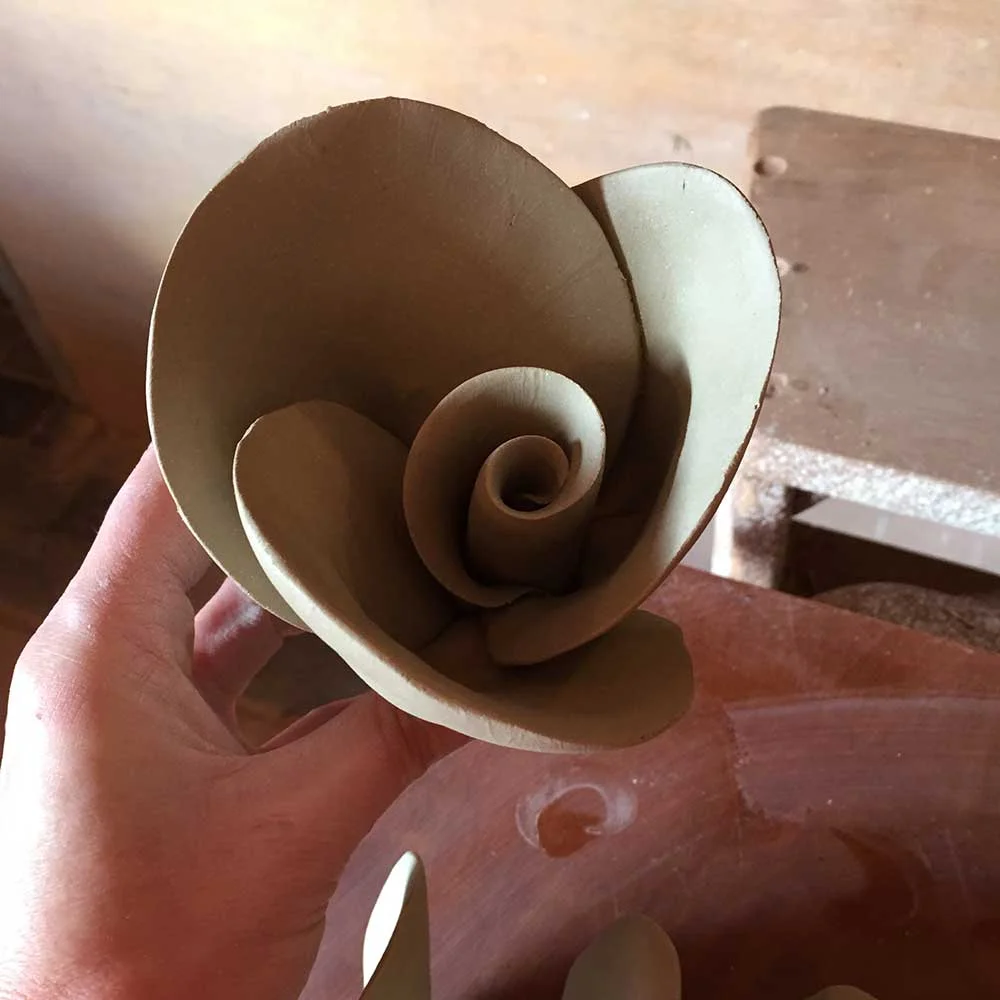
3. Add 5 more petals slightly interlocked as images show.
4. Pull out the first petal to make room for the last petal.
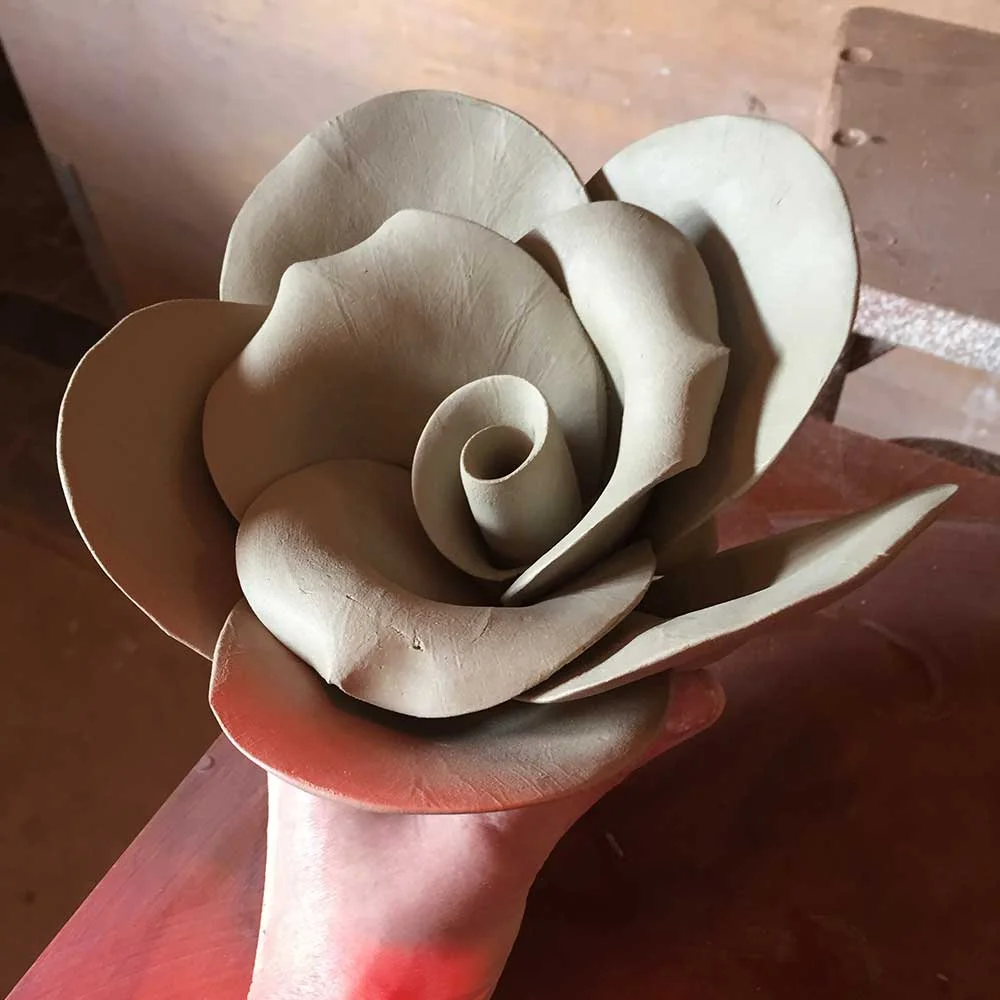
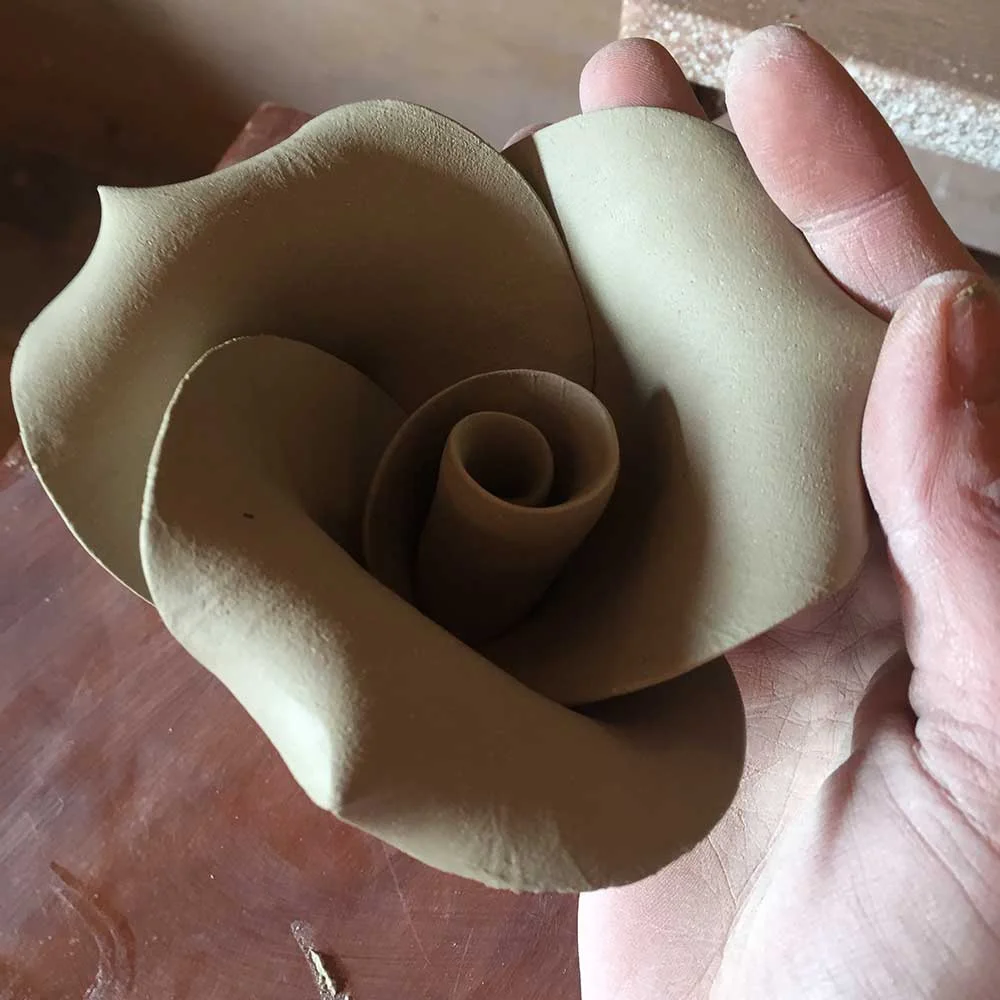
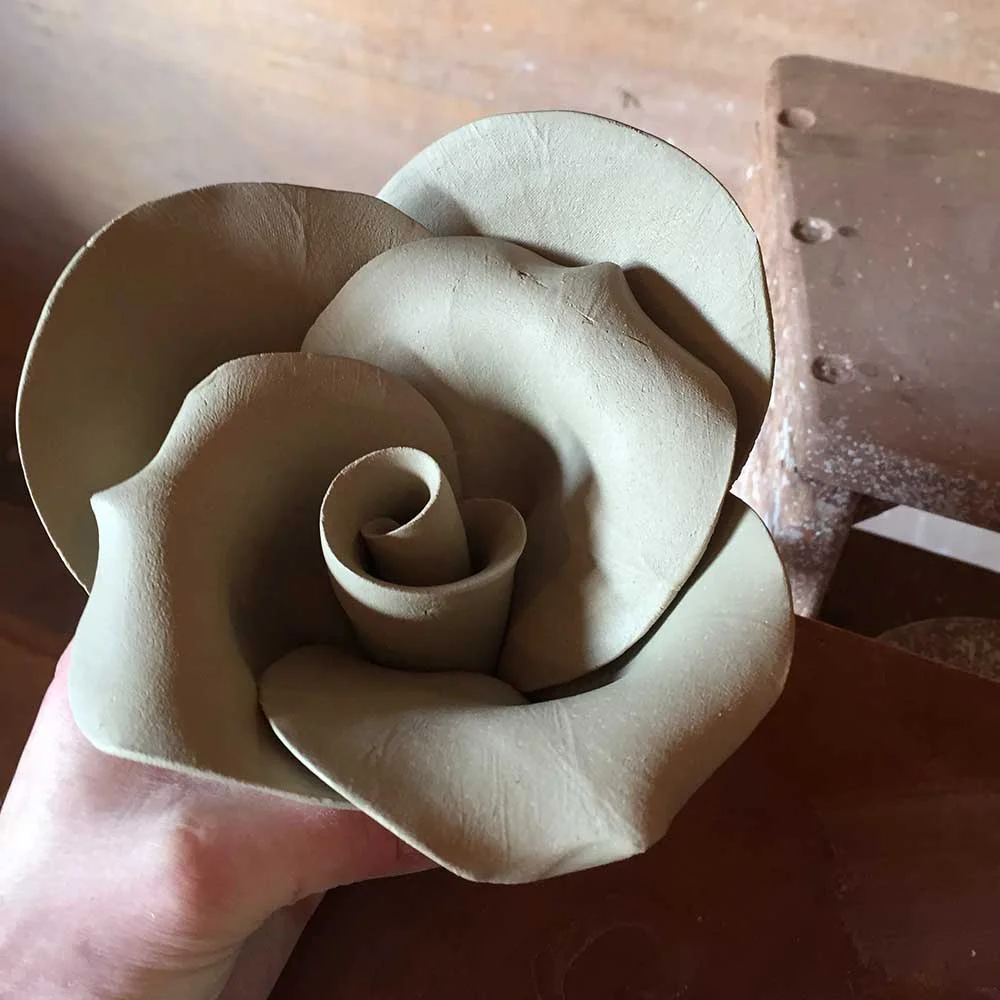
5. Gently tweak or bend over the petals to create the affect in the image.
6. Turn over and sculpt the underside of the rose.
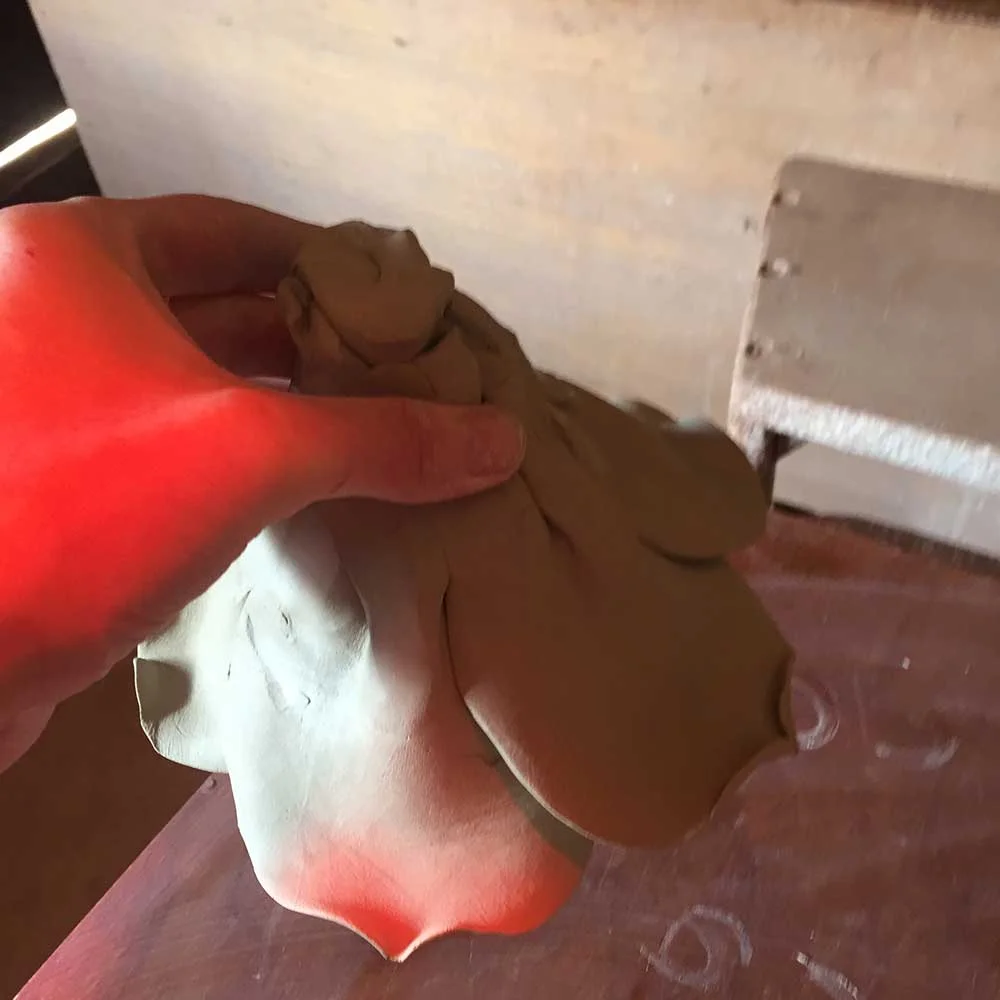
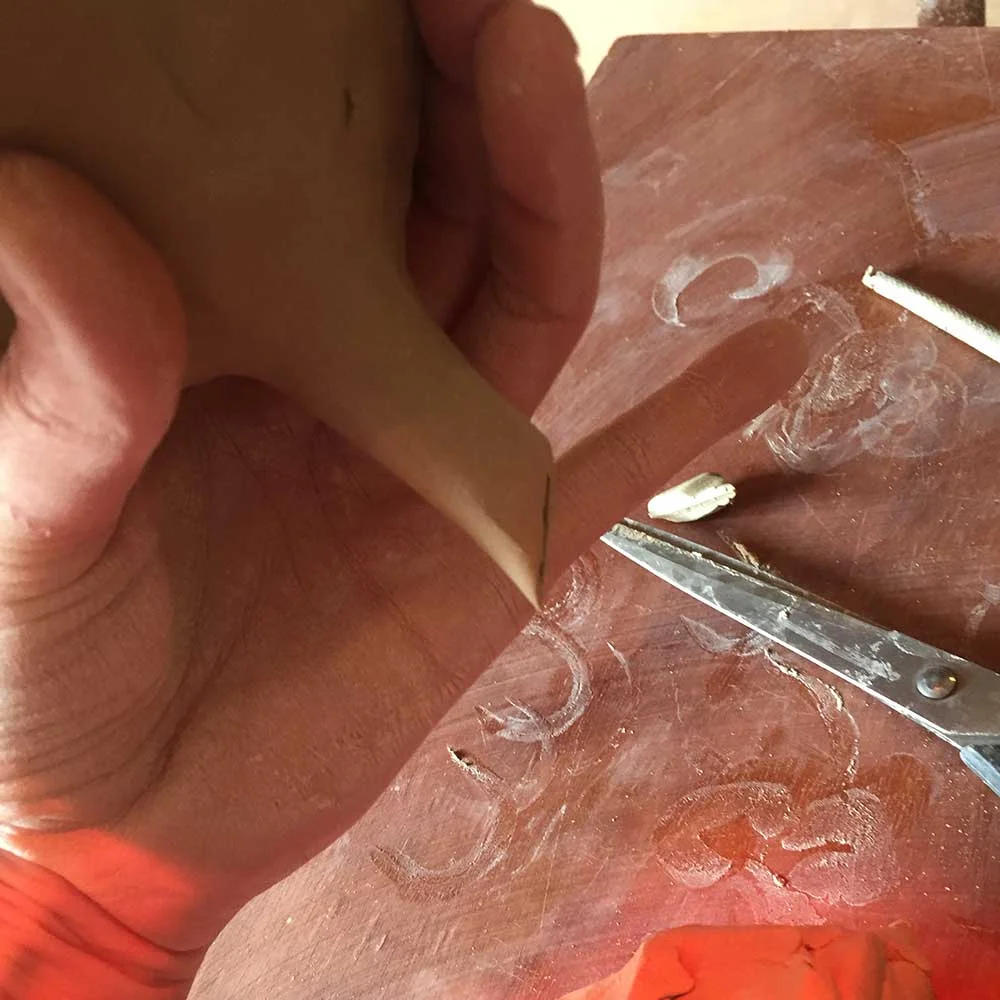
7. If the rose is going on stems, now is the time to poke something to create a hole for the wire. Or you could just create a nice shaped stem for it to sit on.
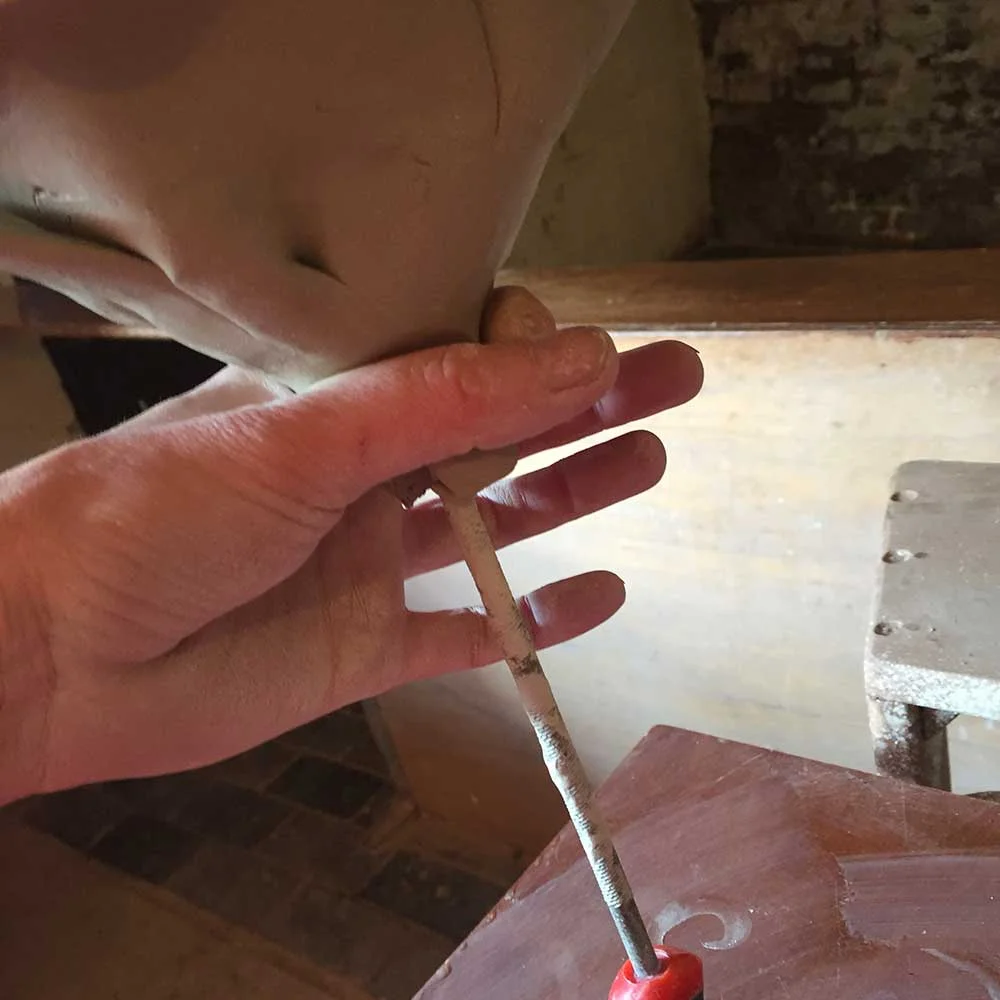
8. Cut stem to make nice and tidy.
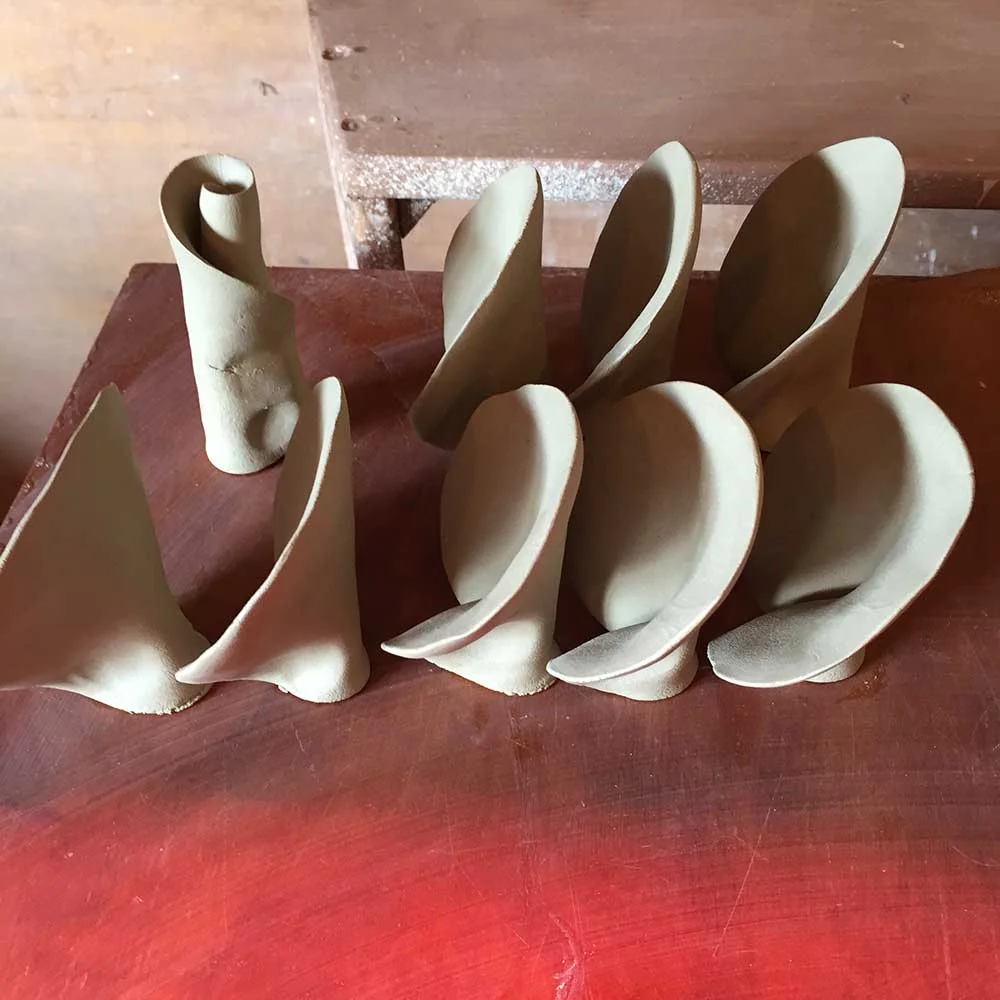
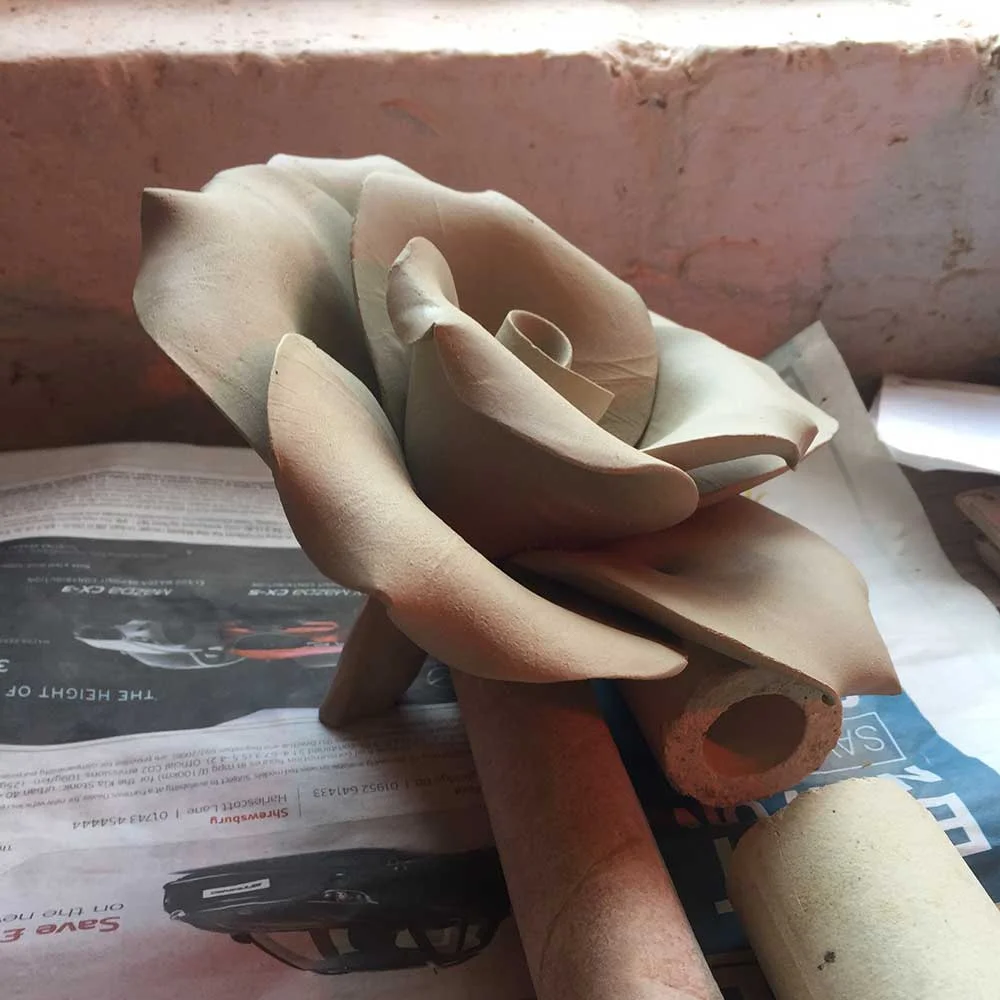
9. Place over toilet rolls or tubes of some kind to dry.
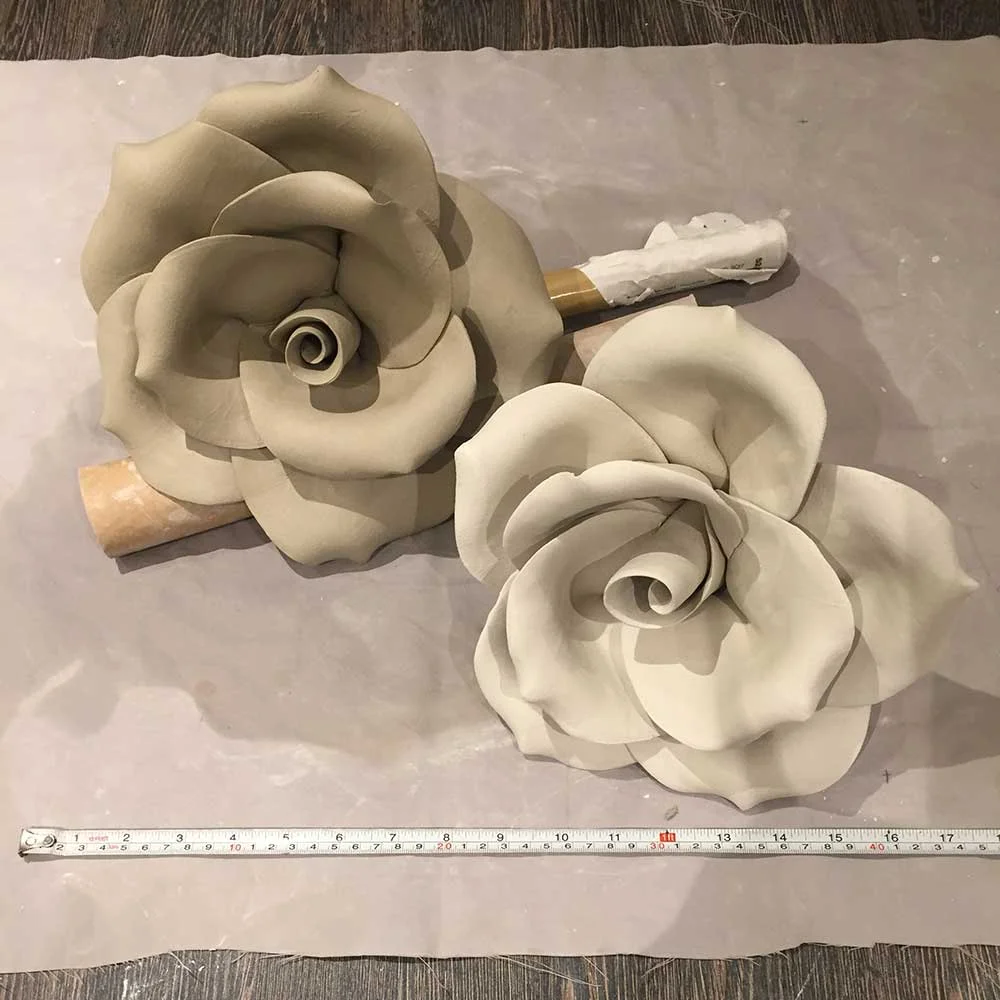
Even Bigger Roses
The bigger the circles the bigger you can go. But these below are trickier than they look:
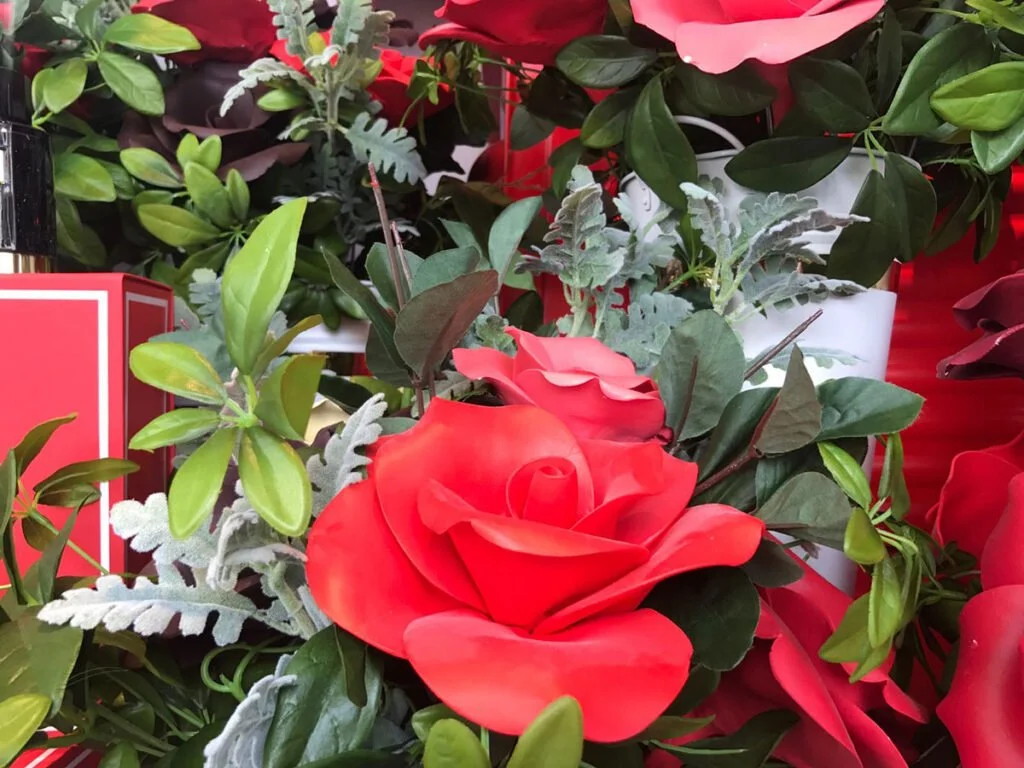
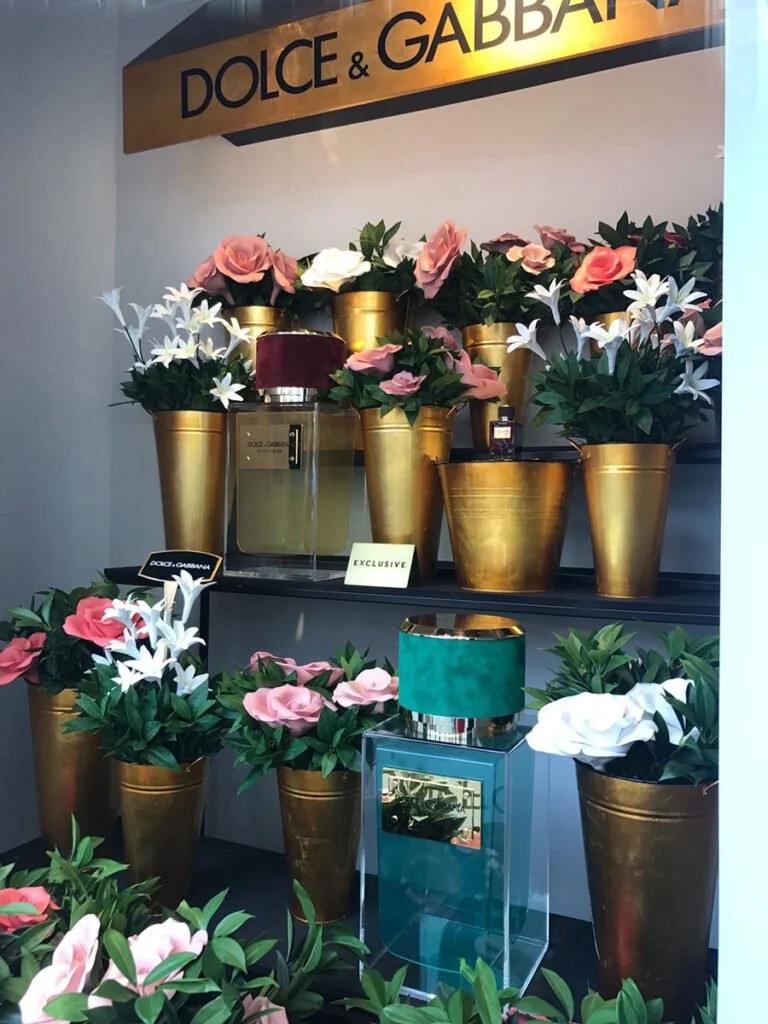
To see more of the finished roses, follow the link below:
https://www.cazamic.com/news/shop-window-display-harrods/
Comments (41)
Magnifique
Thanks so much for sharing this easy to follow instruction. I’m pretty new to pottery but you made this so easy to understand.
Beautiful I wonder whether this clay is available here in Sri Lanka?
Thank you for showing me how you do your beautiful roses!
Thank you for sharing!
I Love your roses, thanks that you share it with us
Beautiful , thank you for the tutorial!!
Thank you for the tutorial I try it Friday
Do I need a especial oven to do it ?
Great tutorial thank you!
I love your work…excelent…congratulations.
Thank you for sharing.You arę very nice!
How long do you let them dry and what type of paint do you use to paint them. I know nothing about clay but I have done Magnolias with fondant for cake decorating. BTW Just gorgeous.
Drying should take as long as you can, but these were a rush job so I tried in the kiln which isn’t recommended. However the clay managed it and they came out fine.
Thank you for sharing all your knowlegde in such easy and altruistic way.
Thank you for sharing your process. I am going to try making a few. When it comes to glazing – how do I place them so that the glaze doesnt stick to the kiln shelf? Or do I only glaze the top surfaces of the rose?
Use a good lot of bat wash or wipe the surface that touches the shelf.
Lindas adorei
Thank you very much ! I will make some soon .
Merci beaucoup pour ce partage généreux de connaissances.
Thanks so much for the tutorail.
I am assuming that you could make smaller ones too. But I am wondering how you finished these. With a red glaze or an underglaze?
Yes I can make all sizes with glaze or underglaze. Sometimes use spray enamel for colours hard to achieve with ceramics.
Thank you so much for sharing your technique.
You made it so easy to understand .Harrods,wow! Your roses are beautiful,thank you !
Thanks alot great job!
What did you use when you glazed them> I can not find anything to stand them on so they do not adhere to the kiln. They are beautiful and the instructions are great. Thank you for sharing.
They were not glazed as client wanted them biscuit.
Thank you for sharing this ! I tried this method but as soon as I try to tweak the petals with my fingers they, the clay cracks. Maybe I made the petals too thin? I even put some water on them to make sure they would tweak without being harmed but it did not work. Thank you for any advice you can give me.
Speed is the key, the quicker you can handle the clay, the less likelihood of cracks when tweaking. Keep practicing.
Merci pour le partage, je vais essayer le même modèle, mais avec du bronze, bonne chance à tous
Thank you … I have done roses in gum paste for cakes and the principle is similar … many thanks for the inspiration!!!!!
They look anazing and you have made it sound so easy to do! Thank you so much!
Linda belo trabalho
Well explained and lovely roses. Thank you. Regards Lori.
Vinegar will take away ur cracks & evaporates unlike the slow process of water. Often water will just allow it to recrack in the same area, where vinegar doesn’t. Vinegar will soften the Cray & help reseal the area.
Thanks, Ill remember this.
Applause applause to you for all those beautiful roses! We created a large scale public art project here in Canada with 3000 roses, so I know the time, attention and dedication it takes to make so many of the same thing and to make them all piece by piece. Our project also included feathers and lilies and was called “Populace” as it recognized the people who lived in the Ottawa area at the time of Confederation in 1867 (Algonquin, English and French). I’ve included the link in case you are curious about what we did with clay and roses. Congratulations on the beautiful Harrods display and thank-you for sharing your techniques!
These roses are awesome. ..Thanku for sharing.
Wow. Thank you so much for sharing this process.
How do you glaze and fire. Do you have a special form or use silts in the kiln
Just the normal way. For those large roses they were just slow fired to 1060c
Nossa! Amei essas rosas, gostaria de aprender.